Hardscaping•8 min read
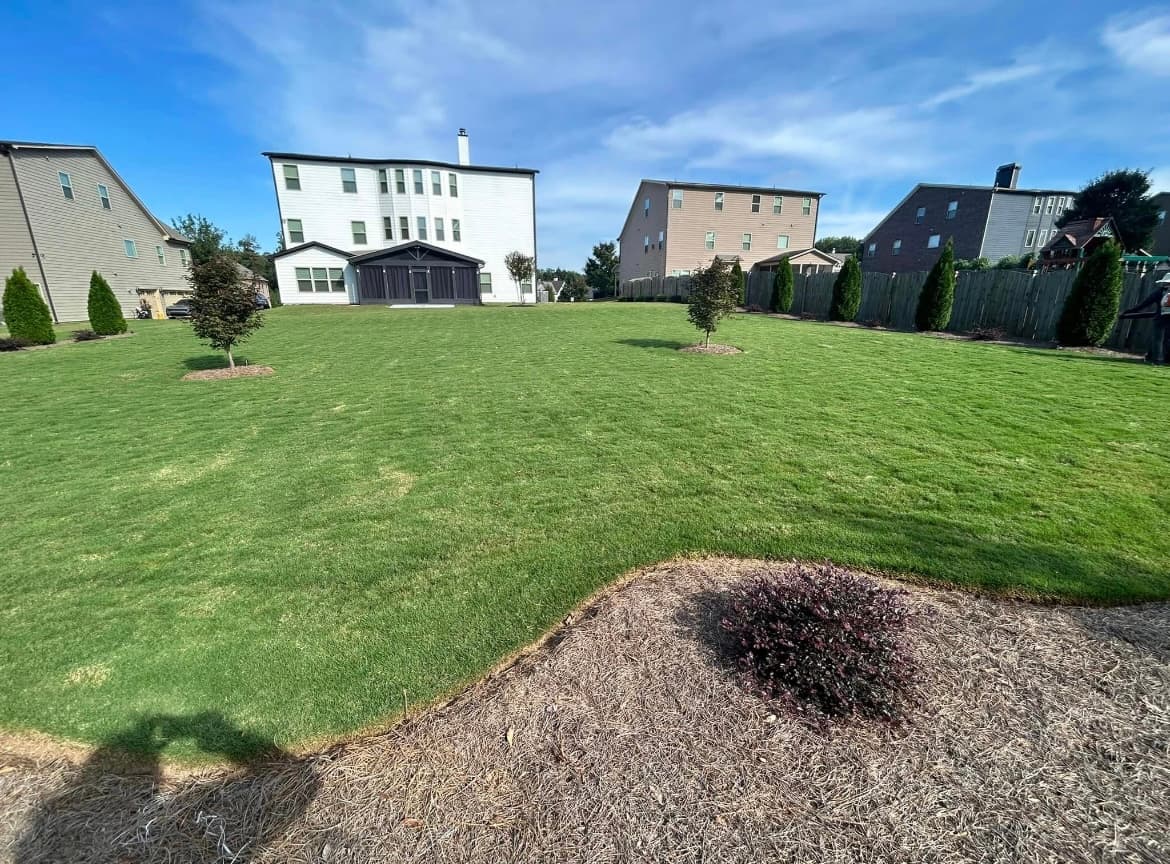
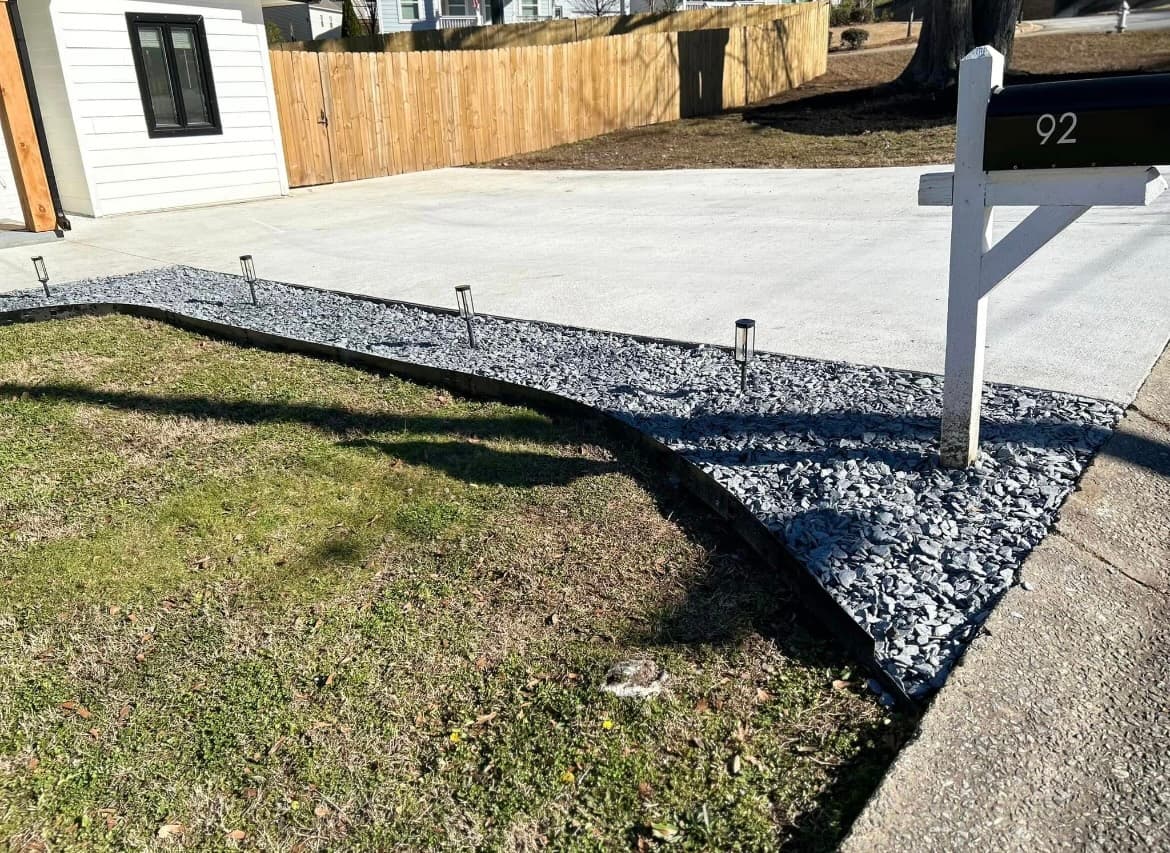
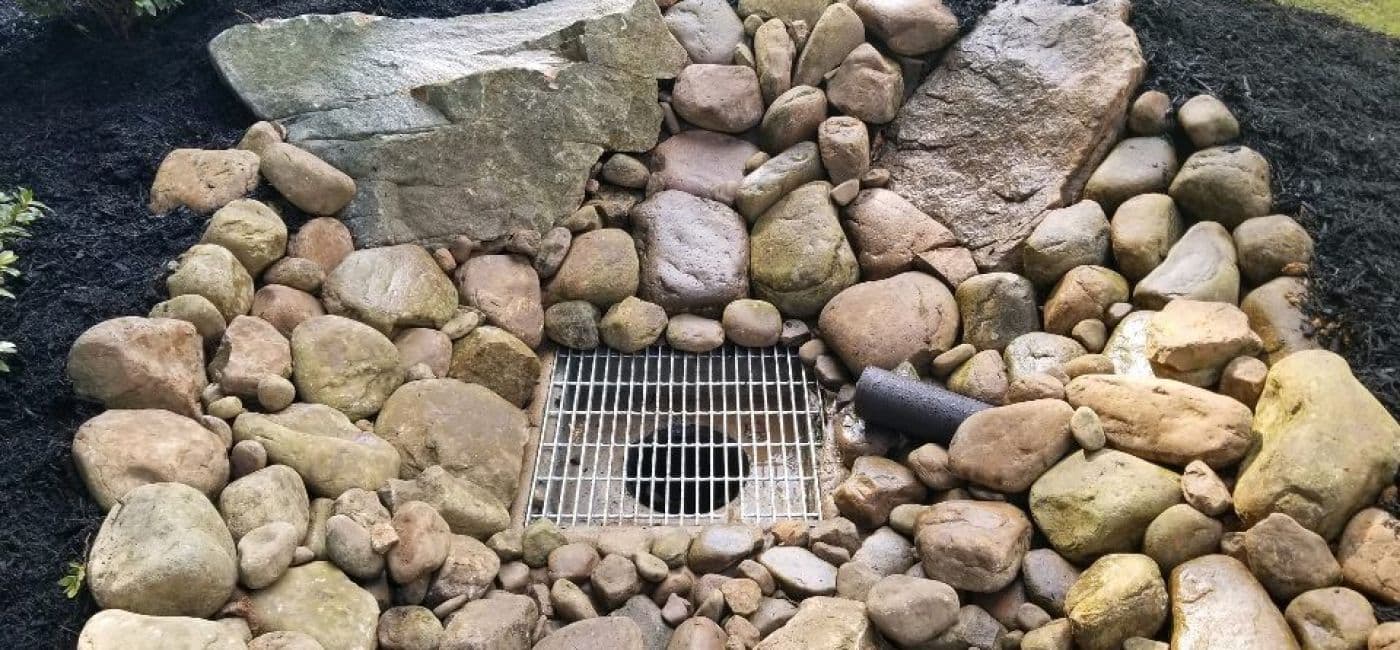
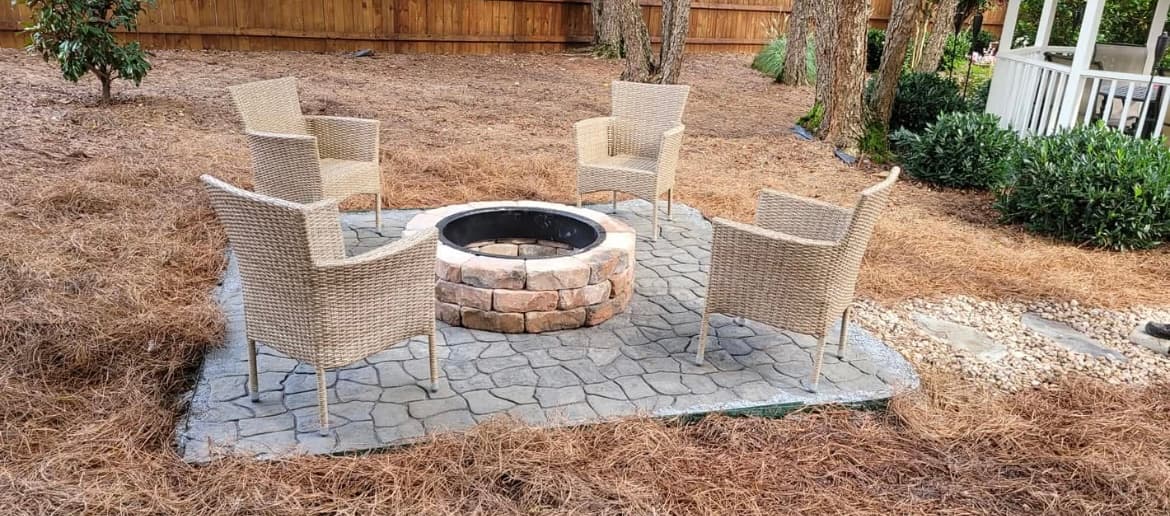
Maximizing Your Outdoor Space: Patio & Hardscape Design That Works
Transform your backyard into a year-round outdoor living area with expert hardscape design. Learn how to create beautiful, functional outdoor spaces that enhance your Georgia home's value and appeal.
January 15, 2024
Read Article